Jak zostać użytkownikiem nowego Portalu
User login/registration
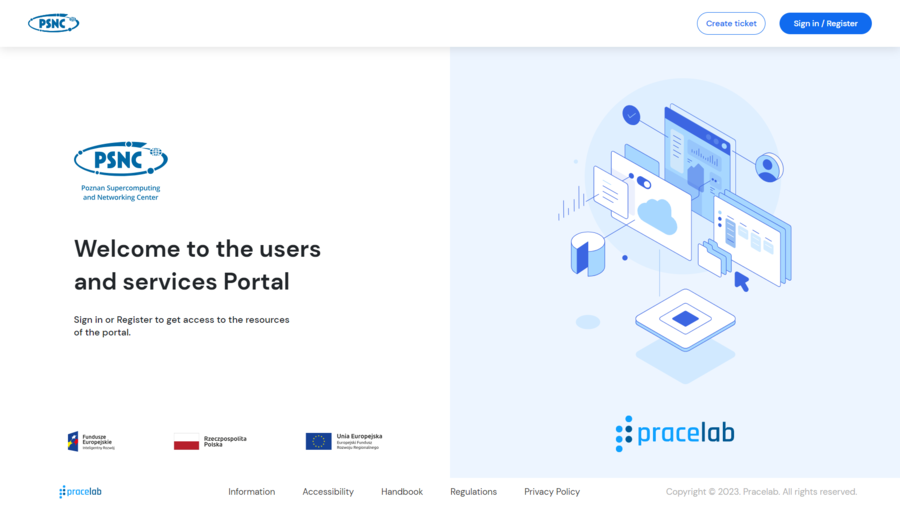
To use the PRACE-LAB portal, you must first successfully log in to your user account or register in the portal at https://pcss.plcloud.pl/
Thanks to this, you will have access to all the functions and possibilities that the portal offers.

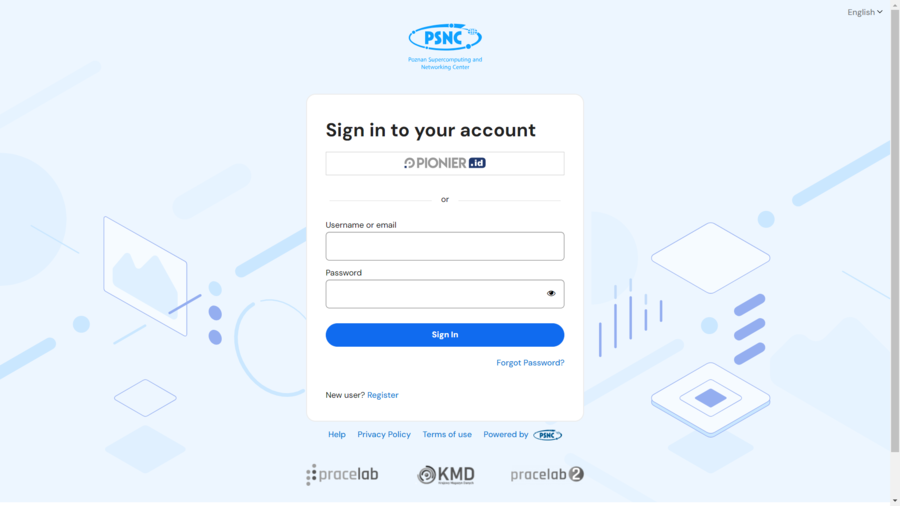
You can log in with PIONER.id or create a user and log in with these details.

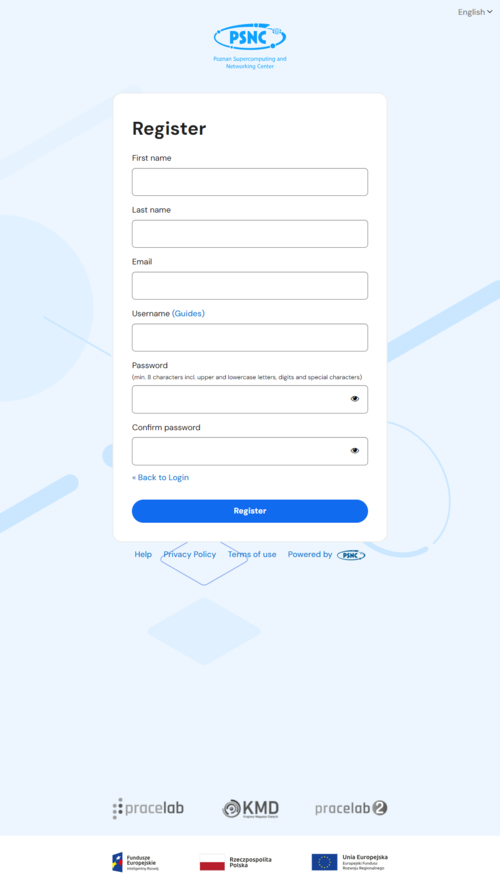
To create a user account, please fill in the contact details below, provide a username and declare a password needed to log in to the portal.
Then press the Registration button

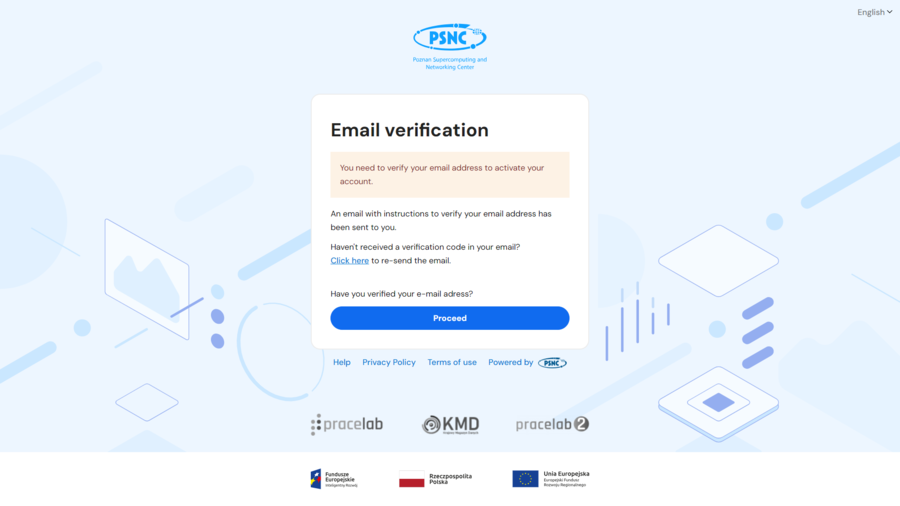
After sending the registration form on the portal, you must verify the entered e-mail address by clicking directly on the link sent to the provided e-mail address.

After successfully registering/logging in to the PRACE-LAB portal, you will find yourself in the user panel.
Affiliation
What is affiliation?
Affiliation is a way of confirming the possibility of performing certain operations, such as using a specific offer and purchasing a service by the user. Specific because, for example, only students can take advantage of the offer for students, so they must have a student affiliation.
Types of affiliation
The following types of affiliation have been identified:
Where do affiliations come from
Depending on the type, affiliations are added by the user and optionally verified by the portal operator/administrator.
It is also possible to automatically verify certain types of affiliation, such as student status.
How to add affiliations
To add your affiliation, click on your usage in the upper right corner and then Affiliations
File:Affiliacje1strzalka.png
Then we will be redirected to a page where you can add affiliations by clicking the Add new affiliation button
File:Afiliacje2strzalka.jpg
After clicking, you will be taken to a new window, the next step is to select the appropriate affiliation, in this case, scientific
File:Afiliacje3strzalka.jpg
After starting the process of creating a scientific affiliation on the PRACE-LAB portal, a field will appear in which you must enter the institution you represent. Enter the name of your institution in the appropriate field to properly identify your connection with a given affiliation. Providing the correct institution is crucial to correctly verifying your academic status
In order to verify your scientific affiliation and your account on the PRACE-LAB portal, you are required to provide contact details. This contact information will be used by the portal administrators or technical support team to confirm your identity and ensure the security of your account. Providing real contact details is important to avoid problems with accessing the portal and, if necessary, contacting you regarding matters related to your account.
File:Afiliacje4strzalka.jpg
After providing your contact details, including your e-mail address, for verification on the PRACE-LAB portal, a confirmation code (OTP) will be automatically sent to the provided e-mail address. This confirmation code will be required to complete the verification process and activate your account on the portal. Open the message with the confirmation code. Copy this code so that you can later paste it into the appropriate field on the PRACE-LAB portal. Then click the Next Step button
File:Afiliacje5strzalka.jpg
After sending the confirmation code and completing the verification process on the PRACE-LAB portal, your application to create a new affiliation will be submitted for approval by the system administrator. The administrator will verify the data and confirm whether the information is true and consistent with the rules of using the portal.
The admin approval process may take some time, depending on workload
Space
To start the space creation process, click the Create Space button
File:Przestrzen1strzalka.jpg
After clicking, you will be taken to a new window, the next step is to select the appropriate space, in this case, scientific
File:Przestrzen2strzalka.jpg
After selecting a science space, a message will appear confirming that the process of creating a new space has started.
File:Przestrzen3strzalka.jpg
If you do not have a scientific affiliation, you will be asked to create your first affiliation. If you already have a scientific affiliation, you can skip this step.
To start the process of creating a new space, you must accept the regulations and proceed to the next step.
File:Przestrzen4strzalka.jpg
Then we provide our space name and the name of the research topic.
File:Przestrzen5strzalka.jpg
After providing this data, we wait for the system administrator to approve the application
File:Przestrzen6strzalka.jpg
When the application for a new space is accepted, we will see the newly created space on the portal. To see the details of the space, click the See more button
SSH Key
To be able to log in to our account, create the SSH-ed25519 key and add it in the SSH public key field below. If you do not have an SSH key, proceed to the next step to create one
Windows
To create the SSH-ed25519 key in Windows, run the PowerShell console.
Then we enter the command:
ssh-keygen -t ed25519
We enter the key name and, optionally, the password. The generated public key should be entered in the portal in the SSH Public Key tab
File:Ssh2strzalka.png
In order to log in via Puttu on Windows, the private key must be converted to the Putty format using the Putty generator program.
We import our newly created private key and save it in *.ppk format
File:Ssh3strzalka.jpg
Then in Putty we add our reformatted private key which will allow us to log in to the eagle cluster
File:Ssh4strzalka.jpg
After successfully logging in, we can use the cluster
Linux
To create the SSH-ed25519 key in Linux, launch Terminal.
Then we enter the command:
ssh-keygen -t ed25519
We enter the key name and, optionally, the password.
The generated public key should be entered in the portal in the SSH Public Key tab
File:Sshlinux1.png
To log in to the cluster in Linux, execute the command by entering your generated private key, your username and the cluster address.
ssh -i keyname user@eagle.man.poznan.pl
macOS
To create the SSH-ed25519 key in macOS, launch Terminal.
Then we enter the command:
ssh-keygen -t ed25519
We enter the key name and, optionally, the password.
The generated public key should be entered in the portal in the SSH Public Key tab
File:Sshmacos1.png
To log in to the cluster in MacOS, execute the command by entering your generated private key, your username and the cluster address.
ssh -i keyname user@eagle.man.poznan.pl
Offers
In order to create it, you need to open available offers, in our case it is a Trial Computing Project on the Eagle cluster
File:Oferta1sztrzalka.jpg
After selecting the appropriate offer, click Details
File:Oferta2sztrzalka.jpg
To start the service, activate the Offer by clicking the Activate button
File:Oferta3sztrzalka.jpg
We will be transferred to the next window informing us about the creation of a new offer
File:Oferta4sztrzalka.jpg
You must accept the activation of the new service by accepting the regulations
File:Oferta5sztrzalka.jpg
We select a previously defined affiliation to which the selected offer will apply
File:Oferta6sztrzalka.jpg
We enter the service parameters
File:Oferta7sztrzalka.jpg
Then we provide the name of the service, duration, description of the research problem, select our scientific knitwear and provide the source of financing for our project
File:Oferta8sztrzalka.jpg
The application will be sent for approval by the system administrator
File:Oferta9sztrzalka.jpg
Once the application is accepted, the service will be activated
File:Oferta10sztrzalka.jpg
Below we can display the details of the created service
Users
In the users tab, we can add new users to our space.
To do this, click the Invite user button
File:User1strzalka.jpg
To invite a new user to your space, we can send him an individual invitation to his e-mail address
File:User2strzalka.jpg
We can also generate a link that we will send to our users via another communication channel. To create a link, click the Generate link button
File:User3strzalka.jpg
Then the link should be copied and forwarded to the designated person
File:User4strzalka.jpg
When our user opens this link and logs in to the portal, a message will be displayed that he has been invited to our space.
Then click Request access
The invited user must now wait until the inviter accepts his invitation on the portal
File:User5strzalka.jpg
When our invited user asks us for access to the shared space, we can accept the access if we agree to it by clicking the Accept button
File:User6strzalka.jpg
After we accept the new user of the space, we can grant him access rights to the space. The default value is the Participant right
File:User7strzalka.jpg
After our approval, the invited user has access to the space we manage
File:User8strzalka.jpg
Where it can add new services within this space
Reports
If any problems arise or you would like to make a query, please create a ticket by pressing the button of the same name, which will enable us to quickly identify and solve the problem or answer your question.
File:Zgloczenie1strzalka.jpg
We will be redirected to the next page where we will be asked to provide all necessary information regarding the problem or question
To add a report, press the Add report button
File:Zgloczenie2strzalka.jpg
After adding the ticket, you should wait for the ticket handler/system administrator to handle the ticket
In the My reports tab you will see all your reports along with the name, date and execution status.
We can also display a given report by pressing the Details button or edit the content under the Edit button
File:Zgloczenie3strzalka.jpg
At this moment, a sample report will be displayed along with the sent content and future responses sent by the reporting system operators

